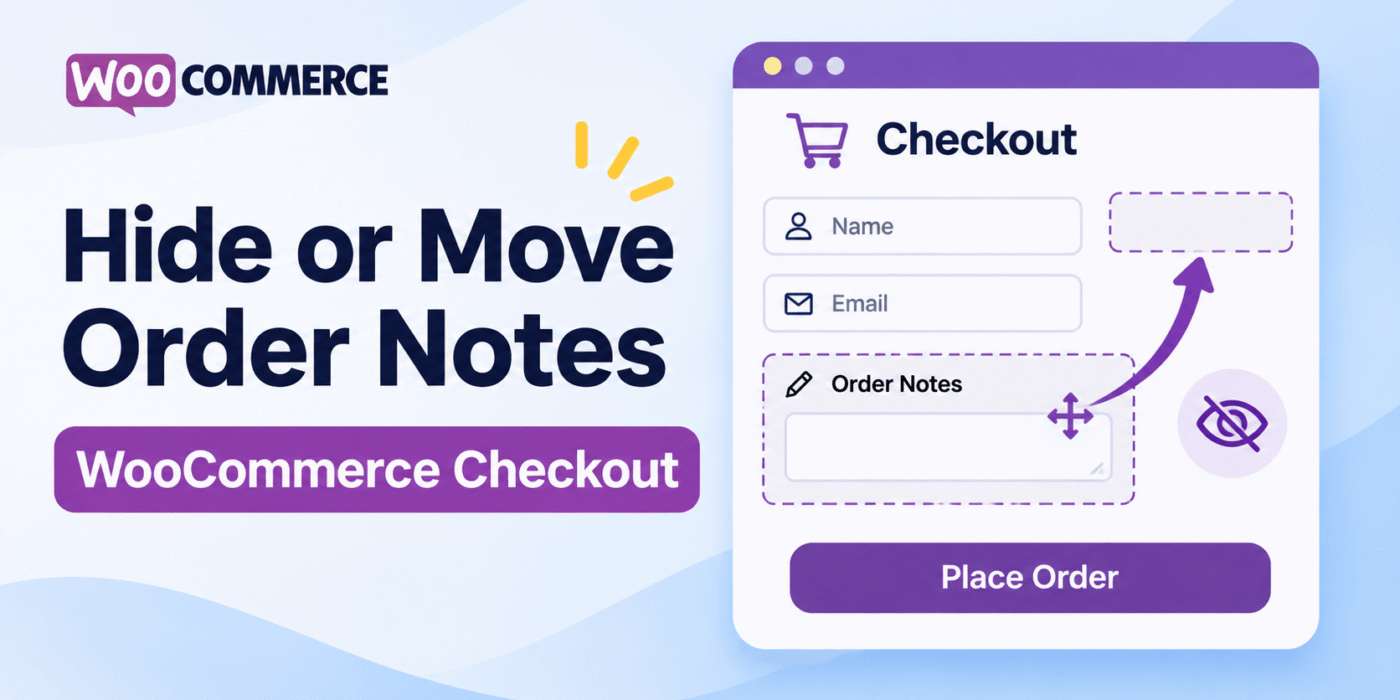
WooCommerce displays an Order Notes field on the checkout page by default. This field allows customers to add delivery instructions or other information about their order.
However, some stores do not need this field. In other cases, you may want to move it from its default position below the shipping details to another section of the checkout page.
You can control the Order Notes field using WooCommerce filters and actions. In this tutorial, we will cover how to hide the default field and how to add a replacement field in the billing section while saving its value as the order’s customer note.
1. Hide Order Notes on the WooCommerce Checkout Page
WooCommerce provides the woocommerce_enable_order_notes_field filter to control whether the default Order Notes field is displayed.
To hide the field, add this code to your child theme’s functions.php file or a custom plugin:
/**
 * Hide the default Order Notes field on checkout.
 */
add_filter(
    'woocommerce_enable_order_notes_field',
    '__return_false'
);
This disables the default Order Notes field on the checkout page.
2. Move Order Notes to the Billing Section
If you want customers to continue adding order notes but prefer a different location, you can hide the default field and create a new textarea field in the billing section.
We will use the woocommerce_checkout_fields filter to add the new field. The following example places an Order Notes textarea in the billing section:
/**
 * Hide the default Order Notes field.
 */
add_filter(
    'woocommerce_enable_order_notes_field',
    '__return_false'
);

/**
 * Add a custom Order Notes field to the billing section.
 */
function geekerhub_add_custom_order_notes_field( $fields ) {

    $fields['billing']['new_order_notes'] = array(
        'type'        => 'textarea',
        'label'       => 'Order Notes',
        'placeholder' => 'Add notes about your order',
        'required'    => false,
        'class'       => array( 'form-row-wide' ),
        'clear'       => true,
        'priority'    => 999,
    );

    return $fields;
}
add_filter(
    'woocommerce_checkout_fields',
    'geekerhub_add_custom_order_notes_field'
);
The new field will appear in the billing section of the classic WooCommerce checkout form. You can change its label, placeholder, CSS class, and priority to suit your store.
3. Save the Custom Order Notes to the Order
Adding a custom checkout field is only part of the process. You also need to save the customer’s input when WooCommerce creates the order.
Use the woocommerce_checkout_create_order action to retrieve the custom field value and save it as the order’s customer note:
/**
 * Save the custom Order Notes field to the order.
 */
function geekerhub_save_custom_order_notes( $order, $data ) {

    $order_notes = '';

    if ( isset( $data['new_order_notes'] ) ) {
        $order_notes = sanitize_textarea_field(
            $data['new_order_notes']
        );
    }

    if ( '' !== $order_notes ) {
        $order->set_customer_note( $order_notes );
    }
}
add_action(
    'woocommerce_checkout_create_order',
    'geekerhub_save_custom_order_notes',
    10,
    2
);
The code checks whether the custom field was submitted, sanitizes its value, and saves it using WooCommerce’s set_customer_note() method.
4. Complete Code to Hide and Move Order Notes
If you want to move the field to the billing section, you can use all three parts together. Add the following complete snippet to your child theme’s functions.php file or custom plugin:
/**
 * Hide the default WooCommerce Order Notes field.
 */
add_filter(
    'woocommerce_enable_order_notes_field',
    '__return_false'
);

/**
 * Add Order Notes to the billing section.
 */
function geekerhub_add_custom_order_notes_field( $fields ) {

    $fields['billing']['new_order_notes'] = array(
        'type'        => 'textarea',
        'label'       => 'Order Notes',
        'placeholder' => 'Add notes about your order',
        'required'    => false,
        'class'       => array( 'form-row-wide' ),
        'clear'       => true,
        'priority'    => 999,
    );

    return $fields;
}
add_filter(
    'woocommerce_checkout_fields',
    'geekerhub_add_custom_order_notes_field'
);

/**
 * Save custom Order Notes as the order customer note.
 */
function geekerhub_save_custom_order_notes( $order, $data ) {

    if ( isset( $data['new_order_notes'] ) ) {

        $order_notes = sanitize_textarea_field(
            $data['new_order_notes']
        );

        if ( '' !== $order_notes ) {
            $order->set_customer_note( $order_notes );
        }
    }
}
add_action(
    'woocommerce_checkout_create_order',
    'geekerhub_save_custom_order_notes',
    10,
    2
);
This combines the three steps: hiding the default field, adding a replacement field to the billing section, and saving its value as the order’s customer note.
Important Notes
- Classic checkout: This example uses the classic WooCommerce checkout hooks and checkout fields. It is intended for stores using the classic checkout shortcode.
- Checkout Block: The WooCommerce Checkout Block uses a different customization approach. These classic checkout field hooks do not provide the same result in block-based checkout.
- Test order creation: Place a test order and check the order details in the WordPress dashboard to confirm that the customer note has been saved.
- Custom plugins: If you add several WooCommerce customizations, consider keeping them in a small custom plugin rather than directly editing your theme. See our guide on how to create a custom plugin in WordPress.
For more information about customizing checkout fields, refer to the official WooCommerce checkout fields documentation.
Conclusion
You can hide the default WooCommerce Order Notes field with the woocommerce_enable_order_notes_field filter.
If you want to display Order Notes in another location, disable the default field, add a custom textarea using woocommerce_checkout_fields, and save its value with the woocommerce_checkout_create_order action.
This approach lets you place the field in the billing section while keeping the customer’s note attached to the WooCommerce order.