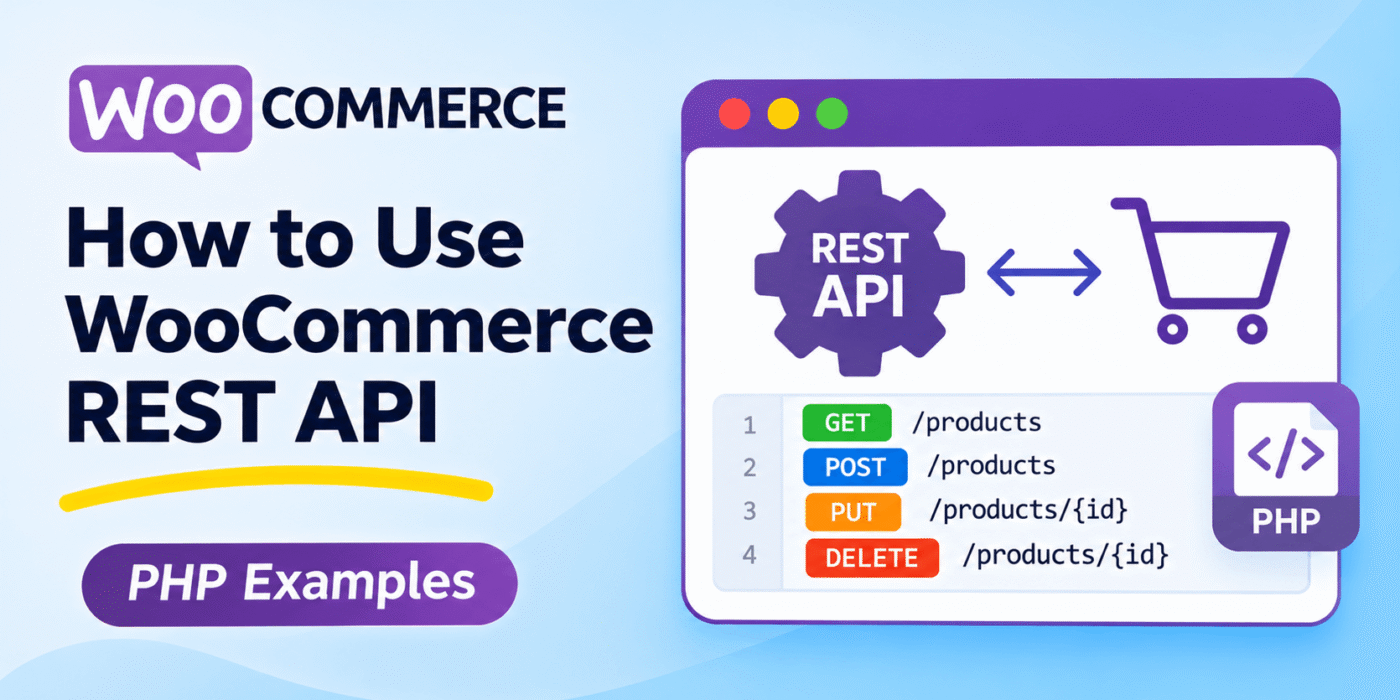
The WooCommerce REST API allows developers to interact with a WooCommerce store programmatically. You can use it to retrieve product information, create and update products, manage orders, access customer data, and connect your store with external applications.
In this tutorial, you will learn how to set up REST API access, generate API credentials, and make GET, POST, PUT, and DELETE requests using PHP cURL.
1. Understanding the WooCommerce REST API
The WooCommerce REST API uses HTTP requests to let applications communicate with your online store. Each API endpoint represents a resource, such as products, orders, customers, product categories, or product attributes.
The API returns data in JSON format, making it straightforward to process responses in PHP and other programming languages.
Authentication Methods
WooCommerce REST API requests require authentication for protected store data and operations. The main authentication options include:
- Consumer Key and Consumer Secret: WooCommerce generates API credentials that you can use to authenticate requests. These credentials are associated with a WordPress user and have specific permissions.
- OAuth 1.0a: WooCommerce supports OAuth 1.0a authentication, which can be useful in certain integrations, particularly where requests need to be signed.
For the PHP examples in this tutorial, we will use a Consumer Key and Consumer Secret with HTTP Basic Authentication over HTTPS.
Common WooCommerce REST API Endpoints
WooCommerce provides endpoints for working with different store resources. Some commonly used endpoints include:
- Products: Retrieve, create, update, and delete products.
- Orders: Retrieve and manage customer orders.
- Customers: Access and manage customer records.
- Product Categories: Retrieve, create, update, and delete product categories.
- Product Attributes: Manage product attributes and their terms.
Most standard WooCommerce REST API endpoints use the versioned API path /wp-json/wc/v3/. You can find the available resources and parameters in the official WooCommerce REST API documentation.
2. Set Up Your WooCommerce Store for API Access
Before sending API requests, you need to generate API credentials from your WooCommerce dashboard.
Generating WooCommerce REST API Keys
- Log in to your WordPress admin dashboard.
- Navigate to WooCommerce > Settings > Advanced > REST API.
- Click Add Key.
- Enter a description to identify the application using the credentials.
- Select the WordPress user associated with the API key.
- Choose the required permission: Read, Write, or Read/Write.
- Click Generate API Key.
- Copy the generated Consumer Key and Consumer Secret and store them securely.
The Consumer Secret is displayed when the key is generated, so save it somewhere secure. Do not share your credentials or expose them in public JavaScript, browser code, or a public repository.
Do You Need to Enable the REST API?
In current WooCommerce versions, the REST API is available as part of WooCommerce. You generally do not need to enable a separate REST API switch. Generate the required API credentials and make sure your site is accessible over HTTPS.
Best Practices for API Security
- Use HTTPS for all API requests.
- Give each API key only the permissions it needs.
- Keep Consumer Keys and Consumer Secrets on the server, not in frontend code.
- Do not commit credentials to public Git repositories.
- Revoke API keys that are no longer needed.
- Handle API errors and monitor unexpected requests.
3. Making GET Requests to Retrieve Products
A GET request retrieves information from your WooCommerce store. The following PHP example uses cURL to request products from the WooCommerce REST API.
<?php

$consumerKey    = 'your_consumer_key';
$consumerSecret = 'your_consumer_secret';
$storeUrl       = 'https://yourstore.com/wp-json/wc/v3';

$url = $storeUrl . '/products';

$curl = curl_init( $url );

curl_setopt_array( $curl, array(
    CURLOPT_RETURNTRANSFER => true,
    CURLOPT_HTTPHEADER     => array(
        'Authorization: Basic ' . base64_encode(
            $consumerKey . ':' . $consumerSecret
        ),
        'Accept: application/json',
    ),
    CURLOPT_TIMEOUT        => 30,
) );

$response = curl_exec( $curl );

if ( $response === false ) {
    echo 'cURL error: ' . curl_error( $curl );
} else {
    $httpCode = curl_getinfo( $curl, CURLINFO_HTTP_CODE );
    $products = json_decode( $response, true );

    if ( $httpCode >= 200 && $httpCode < 300 && is_array( $products ) ) {
        foreach ( $products as $product ) {
            echo 'Product ID: ' . $product['id'] . PHP_EOL;
            echo 'Product Name: ' . $product['name'] . PHP_EOL;
            echo 'Product Price: ' . $product['price'] . PHP_EOL;
            echo PHP_EOL;
        }
    } else {
        echo 'API request failed. HTTP status: ' . $httpCode;
        echo PHP_EOL . $response;
    }
}

curl_close( $curl );

?>
Replace the store URL, Consumer Key, and Consumer Secret with your own values. The example sends a GET request to the products endpoint, checks the HTTP response status, decodes the JSON response, and displays the product ID, name, and price.
By default, WooCommerce returns a limited number of results per request. If your store has many products, use pagination parameters such as per_page and page to retrieve additional results.
For example:
https://yourstore.com/wp-json/wc/v3/products?per_page=50&page=1
4. Creating a Product Using a POST Request
A POST request creates a new resource. In WooCommerce, you can use the products endpoint to add a product programmatically.
The following example creates a simple product with a name, regular price, and description.
<?php

$consumerKey    = 'your_consumer_key';
$consumerSecret = 'your_consumer_secret';
$storeUrl       = 'https://yourstore.com/wp-json/wc/v3';

$url = $storeUrl . '/products';

$productData = array(
    'name'          => 'New Product',
    'type'          => 'simple',
    'regular_price' => '19.99',
    'description'   => 'This is a new product.',
);

$curl = curl_init( $url );

curl_setopt_array( $curl, array(
    CURLOPT_RETURNTRANSFER => true,
    CURLOPT_POST           => true,
    CURLOPT_POSTFIELDS     => json_encode( $productData ),
    CURLOPT_HTTPHEADER     => array(
        'Authorization: Basic ' . base64_encode(
            $consumerKey . ':' . $consumerSecret
        ),
        'Content-Type: application/json',
        'Accept: application/json',
    ),
    CURLOPT_TIMEOUT        => 30,
) );

$response = curl_exec( $curl );

if ( $response === false ) {
    echo 'cURL error: ' . curl_error( $curl );
} else {
    $httpCode = curl_getinfo( $curl, CURLINFO_HTTP_CODE );
    $product  = json_decode( $response, true );

    if ( $httpCode >= 200 && $httpCode < 300 && is_array( $product ) ) {
        echo 'New Product ID: ' . $product['id'] . PHP_EOL;
        echo 'Product Name: ' . $product['name'] . PHP_EOL;
        echo 'Regular Price: ' . $product['regular_price'] . PHP_EOL;
    } else {
        echo 'Product creation failed. HTTP status: ' . $httpCode;
        echo PHP_EOL . $response;
    }
}

curl_close( $curl );

?>
When the request succeeds, WooCommerce returns the newly created product as JSON. The response includes its product ID and other product information.
Be careful when testing this example on a live store. Each successful POST request creates a real product. Use a staging store or remove test products when you have finished testing.
5. Updating a Product Using a PUT Request
To update an existing product, send a PUT request to the product endpoint with the product ID. For example, the following code changes the name and regular price of product ID 123.
<?php

$consumerKey    = 'your_consumer_key';
$consumerSecret = 'your_consumer_secret';
$storeUrl       = 'https://yourstore.com/wp-json/wc/v3';

$productId = 123;
$url       = $storeUrl . '/products/' . $productId;

$productData = array(
    'name'          => 'Updated Product Name',
    'regular_price' => '24.99',
);

$curl = curl_init( $url );

curl_setopt_array( $curl, array(
    CURLOPT_RETURNTRANSFER => true,
    CURLOPT_CUSTOMREQUEST  => 'PUT',
    CURLOPT_POSTFIELDS     => json_encode( $productData ),
    CURLOPT_HTTPHEADER     => array(
        'Authorization: Basic ' . base64_encode(
            $consumerKey . ':' . $consumerSecret
        ),
        'Content-Type: application/json',
        'Accept: application/json',
    ),
    CURLOPT_TIMEOUT        => 30,
) );

$response = curl_exec( $curl );

if ( $response === false ) {
    echo 'cURL error: ' . curl_error( $curl );
} else {
    $httpCode = curl_getinfo( $curl, CURLINFO_HTTP_CODE );
    $product  = json_decode( $response, true );

    if ( $httpCode >= 200 && $httpCode < 300 && is_array( $product ) ) {
        echo 'Updated Product ID: ' . $product['id'] . PHP_EOL;
        echo 'Updated Product Name: ' . $product['name'] . PHP_EOL;
        echo 'Updated Regular Price: ' . $product['regular_price'] . PHP_EOL;
    } else {
        echo 'Product update failed. HTTP status: ' . $httpCode;
        echo PHP_EOL . $response;
    }
}

curl_close( $curl );

?>
Replace 123 with the ID of the product you want to update. Make sure the API key has write permission.
6. Deleting a Product Using a DELETE Request
You can delete a product by sending a DELETE request to its individual endpoint. The following example permanently deletes product ID 123.
<?php

$consumerKey    = 'your_consumer_key';
$consumerSecret = 'your_consumer_secret';
$storeUrl       = 'https://yourstore.com/wp-json/wc/v3';

$productId = 123;
$url       = $storeUrl . '/products/' . $productId;

$curl = curl_init( $url );

curl_setopt_array( $curl, array(
    CURLOPT_RETURNTRANSFER => true,
    CURLOPT_CUSTOMREQUEST  => 'DELETE',
    CURLOPT_HTTPHEADER     => array(
        'Authorization: Basic ' . base64_encode(
            $consumerKey . ':' . $consumerSecret
        ),
        'Accept: application/json',
    ),
    CURLOPT_TIMEOUT        => 30,
) );

$response = curl_exec( $curl );

if ( $response === false ) {
    echo 'cURL error: ' . curl_error( $curl );
} else {
    $httpCode = curl_getinfo( $curl, CURLINFO_HTTP_CODE );

    if ( $httpCode >= 200 && $httpCode < 300 ) {
        echo 'Product deletion request completed.';
    } else {
        echo 'Product deletion failed. HTTP status: ' . $httpCode;
        echo PHP_EOL . $response;
    }
}

curl_close( $curl );

?>
By default, WooCommerce moves a deleted product to the trash. If you want to force permanent deletion, add ?force=true to the endpoint URL:
https://yourstore.com/wp-json/wc/v3/products/123?force=true
Use permanent deletion carefully because the product cannot be restored from the WordPress trash after it is permanently removed.
7. Common WooCommerce REST API Issues
If an API request does not work, check the response status and error message. These are some common causes of failed requests:
- 401 Unauthorized: Check that the Consumer Key and Consumer Secret are correct and that the server is sending the authentication header.
- 403 Forbidden: Check the API key permissions and the associated WordPress user’s capabilities.
- 404 Not Found: Verify the store URL, API version, endpoint, and resource ID.
- cURL errors: Check that PHP cURL is enabled and that your server can establish an HTTPS connection.
- Invalid JSON: Check the request body and make sure it contains valid JSON with the fields expected by the endpoint.
If you are troubleshooting a broader WordPress issue, you may also find this guide useful: Common WordPress Errors and How to Fix Them.
Conclusion
The WooCommerce REST API makes it possible to connect your store with external applications and automate store management tasks. You can use GET requests to retrieve products, POST requests to create them, PUT requests to update them, and DELETE requests to remove them.
The PHP cURL examples in this tutorial provide a starting point for working with the API. For production integrations, keep your credentials secure, handle errors properly, and refer to the official WooCommerce REST API documentation for the latest endpoints, parameters, and response formats.