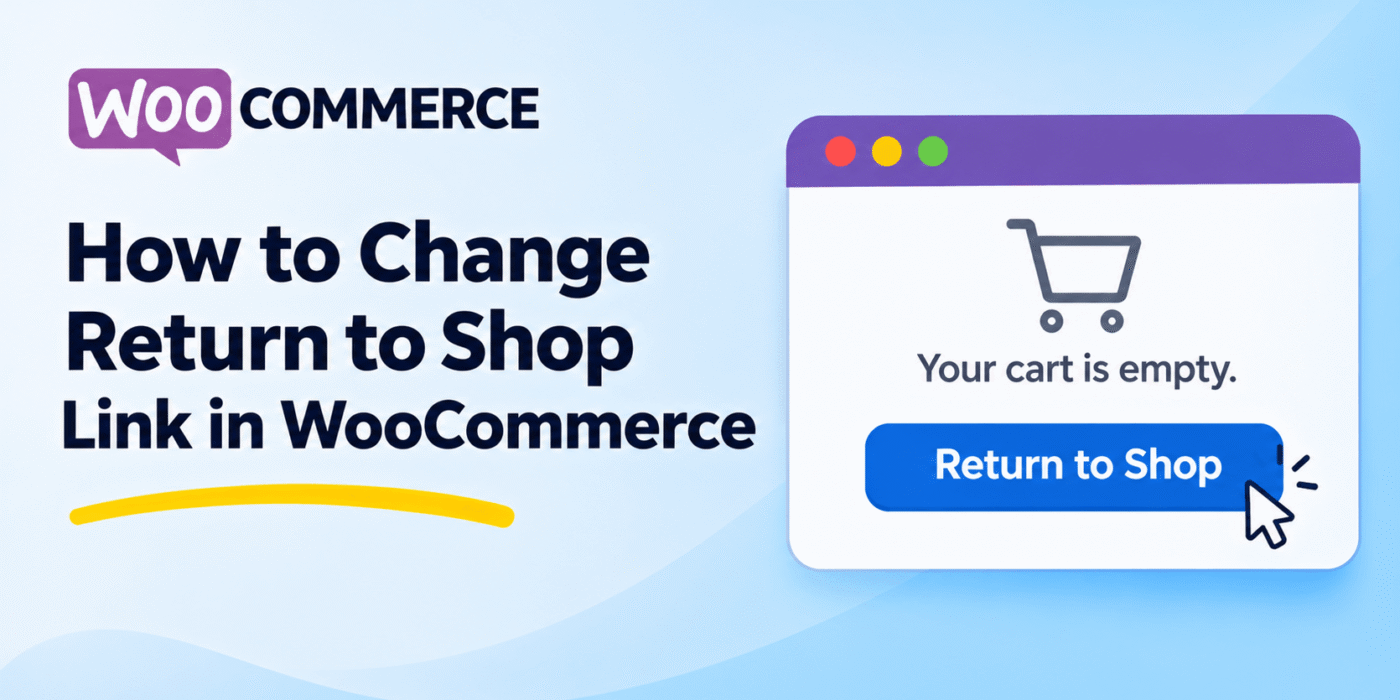
WooCommerce displays a Return to Shop link when a customer reaches an empty cart page. By default, this link takes the customer to the main shop page.
If you want to send customers to a custom page instead, you can change the destination using the woocommerce_return_to_shop_redirect filter. This is useful when you want the link to point to a custom product page, a landing page, or another section of your website.
Understanding the Default Return to Shop Link
When a customer’s cart is empty, WooCommerce displays a message with a Return to Shop button or link. The default destination is the WooCommerce shop page.
You can customize this destination with a small PHP snippet. There is no need to install an additional plugin.
How to Change the Return to Shop Link in WooCommerce
Follow these steps to change the default Return to Shop destination.
Step 1: Open Your Theme’s functions.php File
Log in to your WordPress dashboard and navigate to Appearance > Theme File Editor. Select your active theme and open the functions.php file.
For a safer and more maintainable approach, you can add the code to a child theme’s functions.php file or use a site-specific functionality plugin. This prevents your customization from being lost when you update your parent theme.
Step 2: Add the Custom Code
Add the following code to the end of your functions.php file. Replace /custom-page/ with the path of the page where you want customers to go.
function custom_return_to_shop_link( $url ) {
    return home_url( '/custom-page/' );
}
add_filter( 'woocommerce_return_to_shop_redirect', 'custom_return_to_shop_link' );
For example, if you want to redirect customers to a page with the slug special-offers, update the code like this:
function custom_return_to_shop_link( $url ) {
    return home_url( '/special-offers/' );
}
add_filter( 'woocommerce_return_to_shop_redirect', 'custom_return_to_shop_link' );
The woocommerce_return_to_shop_redirect filter allows you to change the URL WooCommerce uses for the Return to Shop link. The home_url() function builds the destination URL using your WordPress site URL.
Step 3: Save Your Changes
Save the updated file. If you use a code snippets plugin or a custom plugin, save and activate the snippet there instead.
How to Test the Customized Return to Shop Link
After adding the code, check that the link points to the correct page:
- Open your website in a private or incognito browser window.
- Add a product to your cart.
- Remove the product so that the cart becomes empty.
- Find the Return to Shop link on the empty cart page.
- Click the link and confirm that it opens your custom page.
If the old destination still appears, clear your website and browser caches and test again. Also check that the page slug in the code matches the actual page URL.
Conclusion
Changing the Return to Shop link in WooCommerce is simple with the woocommerce_return_to_shop_redirect filter. Add the snippet to your child theme or a site-specific plugin, replace the destination path, and test the empty cart page.
This small customization helps direct customers to the page that makes the most sense for your store.