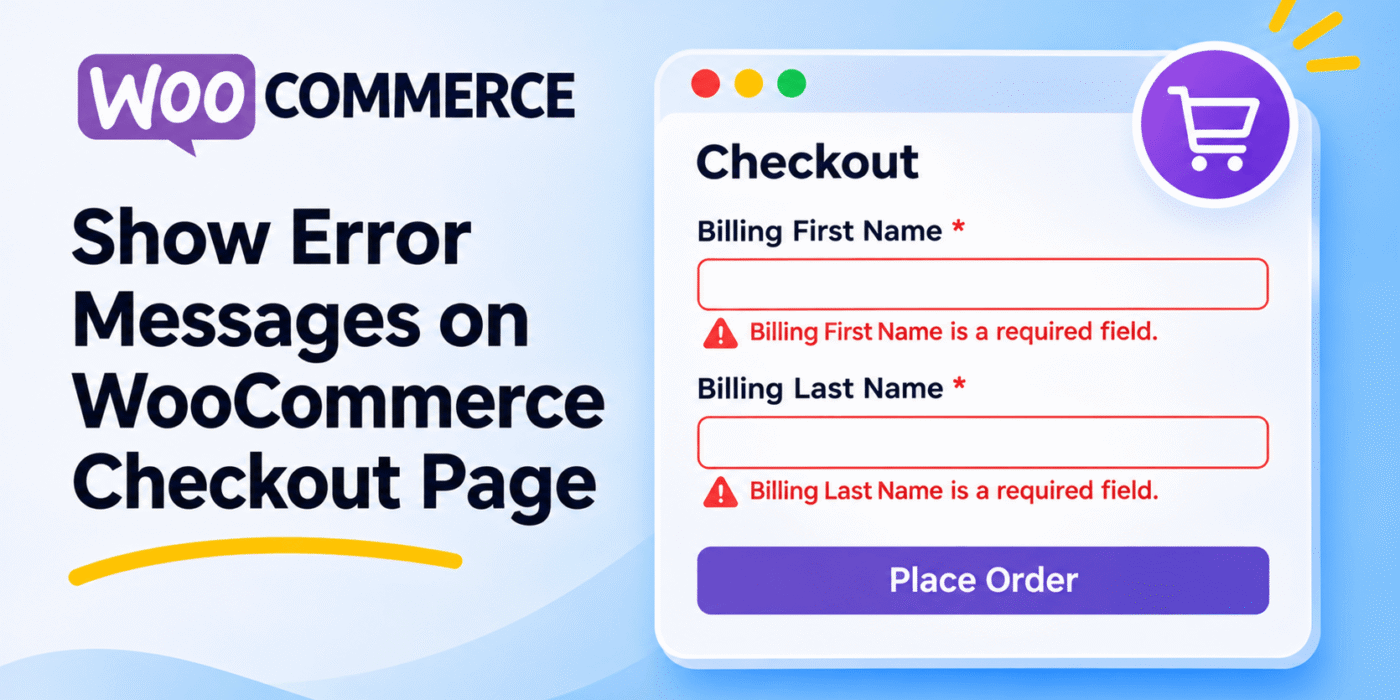
By default, WooCommerce displays checkout validation errors at the top of the page. Customers may find it difficult to identify which field needs attention, especially when the checkout form contains several billing and shipping fields.
A better approach is to display an error message directly below the relevant field. This makes it easier for customers to identify missing information and correct the form without searching through a separate error notice.
In this tutorial, we will use the WooCommerce woocommerce_form_field filter and a small CSS snippet to display required-field error messages next to the corresponding checkout fields.
1. Understand the woocommerce_form_field Filter
WooCommerce uses the woocommerce_form_field filter to modify the HTML generated for checkout form fields.
The filter provides four arguments:
- $field: The HTML generated for the checkout field.
- $key: The field key or name.
- $args: The field configuration, including its label and required status.
- $value: The current field value.
We can use these arguments to identify required fields and add an error message to their HTML.
2. Add an Inline Error Message to Required Checkout Fields
Add the following PHP code to your active child theme’s functions.php file or a custom plugin.
/**
 * Add an inline error message to required WooCommerce checkout fields.
 */
function geeker_checkout_fields_inline_error( $field, $key, $args, $value ) {

    // Only add the message to required fields.
    if ( ! empty( $args['required'] ) ) {

        $label = ! empty( $args['label'] )
            ? wp_strip_all_tags( $args['label'] )
            : $key;

        $error = sprintf(
            '<span class="geeker-inline-required-error">%s</span>',
            esc_html(
                sprintf(
                    __( '%s is a required field.', 'woocommerce' ),
                    $label
                )
            )
        );

        // Insert the message inside the field wrapper.
        $position = strrpos( $field, '</span>' );

        if ( false !== $position ) {

            $field = substr_replace(
                $field,
                $error,
                $position,
                0
            );
        }
    }

    return $field;
}

add_filter(
    'woocommerce_form_field',
    'geeker_checkout_fields_inline_error',
    10,
    4
);
This code checks whether a checkout field is required. If it is, the function adds an error message using the field label.
The message is included in the field HTML but remains hidden until WooCommerce marks the field as invalid.
3. Add CSS to Display the Error Message
Now add the following CSS to your active theme’s style.css file or your custom CSS section.
/* Hide inline checkout errors by default. */
.woocommerce-checkout .geeker-inline-required-error {
    display: none;
    color: #e2401c;
    font-size: 13px;
    font-weight: 600;
    margin-top: 5px;
}

/* Display the message when WooCommerce marks a required field invalid. */
.woocommerce-checkout p.woocommerce-invalid-required-field
.geeker-inline-required-error {
    display: block;
}
WooCommerce applies the woocommerce-invalid-required-field class to a required field wrapper when validation identifies that the field is missing a value. The CSS uses this class to show the corresponding inline message.
4. How the Code Works
The implementation uses PHP and CSS together:
- The
woocommerce_form_fieldfilter modifies the generated checkout field HTML. - The PHP callback checks whether the field is required.
- If the field is required, an inline error message is added using its label.
- The CSS keeps the message hidden while the field is valid.
- When WooCommerce marks the field as invalid, the CSS displays the message below that field.
For example, if the customer leaves the billing first name field empty, the message will appear next to that field instead of requiring the customer to identify the missing information from the general error notice.
5. Test the WooCommerce Checkout Error Messages
After adding the code, open your checkout page and test the following cases:
- Submit the checkout form with all required fields empty.
- Check whether the inline messages appear beside the invalid fields.
- Enter a value in an invalid field and submit the form again.
- Confirm that the inline message disappears when WooCommerce no longer marks the field as invalid.
- Test both billing and shipping fields if your checkout uses both sections.
The exact checkout markup and validation behavior can vary depending on your WooCommerce version, theme, and checkout extensions. If you use the newer Checkout Block instead of the classic shortcode-based checkout, this PHP filter may not control its fields. The example is intended for the classic WooCommerce checkout form.
Important Notes
- Required fields only: The example adds messages only to fields configured as required.
- General error notice: This code adds inline messages but does not remove WooCommerce’s default checkout error notice.
- Custom fields: The message uses the field label supplied in the field arguments. Custom fields should provide a meaningful label.
- Theme compatibility: Check the generated field HTML if your theme uses a customized checkout template.
- Checkout Blocks: Block-based checkout uses a different implementation and may require a separate customization approach.
You can review the WooCommerce field-generation implementation in the official WooCommerce code reference.
Conclusion
Displaying checkout validation messages beside their respective fields can make the WooCommerce checkout process easier to understand. Customers can quickly identify missing information and correct it without searching through the general error notice.
By combining the woocommerce_form_field filter with a small CSS rule, you can add inline messages to required fields without installing another plugin. Test the implementation with your theme and checkout extensions before using it on a live store.