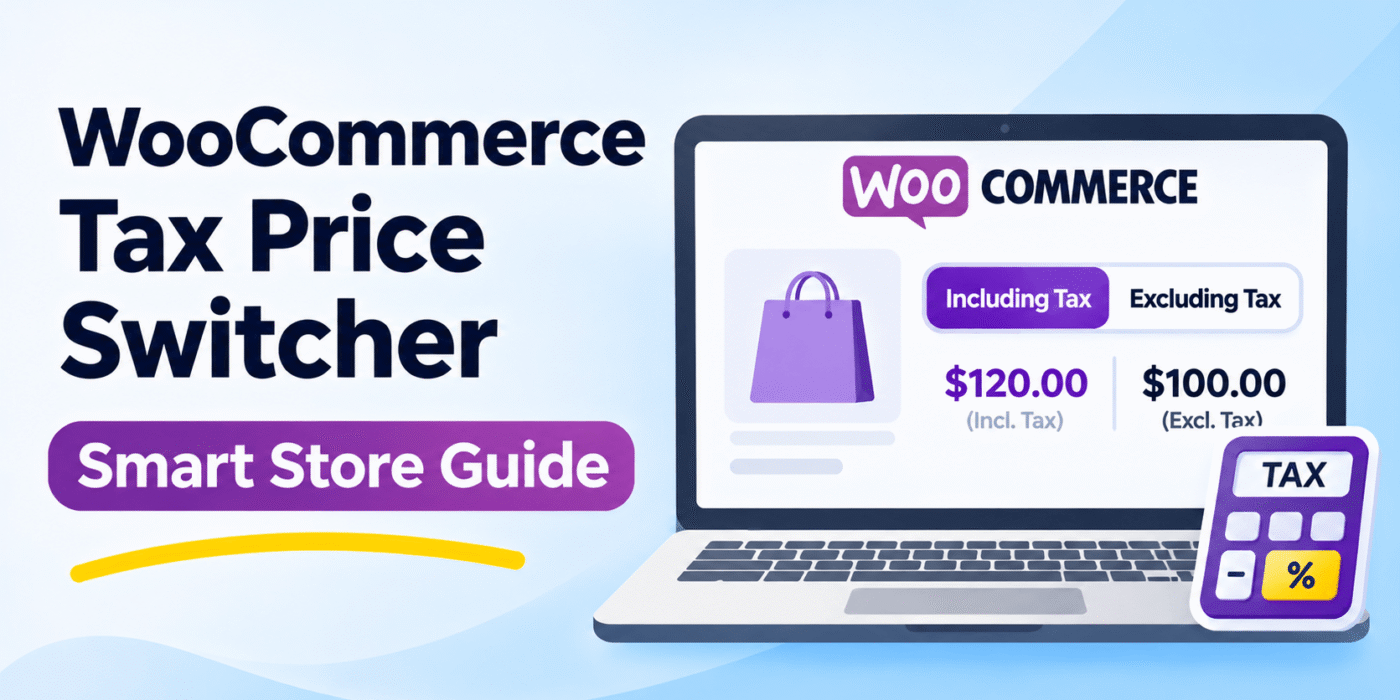
WooCommerce allows store owners to display product prices including tax or excluding tax. However, the default tax display settings apply a single display preference across the store, which may not suit every customer.
Retail customers often want to see the final price, including GST or VAT. Business customers, on the other hand, may prefer to see the price before tax so they can calculate costs and compare suppliers.
A WooCommerce tax switcher can give customers a choice between these two price views. In this tutorial, you’ll learn how to build a tax display switcher and what is required to make it work across product pages, shop pages, and the cart.
Why Add a WooCommerce Tax Switcher?
1. Improve the Shopping Experience
Customers can choose the price display that makes the most sense for them. Retail shoppers can view tax-inclusive prices, while business buyers can switch to tax-exclusive prices.
2. Support B2B Customers
Business customers often compare product prices before tax. Offering an exclusive-tax view can make your store easier for wholesale buyers and other business customers to use.
3. Make Pricing More Transparent
Showing tax-inclusive and tax-exclusive prices helps customers understand how tax affects the total. Make sure your checkout clearly displays the applicable taxes and final amount payable.
What Will the WooCommerce Tax Switcher Do?
The intended switcher will display two options:
Display Prices: [Incl. Tax] [Excl. Tax]
When customers select an option, the store should:
- Display product prices using the selected tax view.
- Apply the same display preference on shop and category pages.
- Show the selected price view in the cart and checkout where appropriate.
- Remember the customer’s preference during their session.
- Continue calculating the actual order taxes using WooCommerce’s tax settings.
Important: The button snippet below creates the switcher interface and stores the customer’s choice in the WooCommerce session. By itself, it does not change WooCommerce’s calculated prices. Additional integration is required to make the selected mode affect price output consistently across the store.
Before You Start
- Enable taxes under WooCommerce > Settings > General.
- Configure tax rates and product tax classes under WooCommerce > Settings > Tax.
- Back up your website before adding custom code.
- Use a child theme or a PHP code snippets plugin.
- Test the customization on a staging site before using it on a live store.
Step 1: Add the WooCommerce Tax Switcher
The following PHP snippet displays the Incl. Tax and Excl. Tax options on single product pages and shop archive pages. It also records the selected option in the WooCommerce session.
/**
 * Display a WooCommerce tax display switcher.
 */
add_action(
    'woocommerce_single_product_summary',
    'geek_tax_switcher_button',
    11
);

add_action(
    'woocommerce_before_shop_loop',
    'geek_tax_switcher_button',
    11
);

function geek_tax_switcher_button() {

    if ( ! function_exists( 'WC' ) || ! WC()->session ) {
        return;
    }

    // Set the default display mode.
    $mode = WC()->session->get( 'bb_tax_mode', 'incl' );

    $incl = ( 'excl' !== $mode ) ? 'active' : '';
    $excl = ( 'excl' === $mode ) ? 'active' : '';

    $incl_url = add_query_arg( 'tax_view', 'incl' );
    $excl_url = add_query_arg( 'tax_view', 'excl' );

    echo '<div class="bb-tax-switcher">';
    echo '<span>Display Prices:</span> ';

    printf(
        '<a href="%s" class="%s">Incl. Tax</a> ',
        esc_url( $incl_url ),
        esc_attr( $incl )
    );

    printf(
        '<a href="%s" class="%s">Excl. Tax</a>',
        esc_url( $excl_url ),
        esc_attr( $excl )
    );

    echo '</div>';
}

/**
 * Save the selected display mode in the WooCommerce session.
 */
add_action( 'wp_loaded', 'geek_save_tax_display_preference' );

function geek_save_tax_display_preference() {

    if ( is_admin() || ! function_exists( 'WC' ) || ! WC()->session ) {
        return;
    }

    if ( ! isset( $_GET['tax_view'] ) ) {
        return;
    }

    $mode = sanitize_key( wp_unslash( $_GET['tax_view'] ) );

    if ( ! in_array( $mode, array( 'incl', 'excl' ), true ) ) {
        return;
    }

    WC()->session->set( 'bb_tax_mode', $mode );

    wp_safe_redirect( remove_query_arg( 'tax_view' ) );
    exit;
}
This code adds the switcher and remembers the customer’s selection in the WooCommerce session. The links reload the current page after saving the choice.
Step 2: Style the Tax Switcher
You can add the following CSS under Appearance > Customize > Additional CSS, if your theme provides that option, or add it to your child theme’s stylesheet.
.bb-tax-switcher {
    display: flex;
    align-items: center;
    flex-wrap: wrap;
    gap: 8px;
    margin: 12px 0 18px;
}

.bb-tax-switcher a {
    display: inline-block;
    padding: 7px 12px;
    border: 1px solid #ccc;
    border-radius: 4px;
    text-decoration: none;
}

.bb-tax-switcher a.active {
    font-weight: 700;
    border-color: #333;
}
The active class indicates the selected option. You can adjust the spacing, borders, and colors to match your store’s design.
Step 3: Connect the Selection to WooCommerce Price Display
The switcher above stores the customer’s preference, but it does not automatically override WooCommerce’s tax display settings. To change the displayed prices, the saved preference must be integrated with the store’s price-rendering logic.
WooCommerce has separate settings for prices entered into the store, prices displayed in the catalog, prices displayed in the cart and checkout, and how tax totals are shown. A reliable implementation must account for these settings instead of changing only the text shown beside the price.
For a complete implementation, decide how the switcher should behave for:
- Simple products and variable products.
- Sale prices and variation price ranges.
- Shop, category, and search results.
- Cart and checkout totals.
- Customers whose addresses affect the applicable tax rate.
- Stores using the WooCommerce Cart and Checkout Blocks.
Because WooCommerce extensions may format prices in different ways, test the integration with your theme and any pricing, currency, or tax plugins before publishing it.
Important Difference Between Displayed Prices and Tax Calculation
A tax display switcher should change how prices are presented, not bypass WooCommerce’s tax calculation. The tax charged on an order depends on your store’s tax configuration, the customer’s location, the products in the cart, and any applicable tax rules.
For example, switching to Excl. Tax should not remove tax from the order. It should show the price before tax while WooCommerce continues calculating and displaying the applicable tax at checkout.
Check your local pricing and tax disclosure requirements before deciding which display mode to use by default.
How to Test the WooCommerce Tax Switcher
- Open a product page and confirm that both tax display options appear.
- Select Excl. Tax and confirm that the preference is saved in the session.
- Visit a shop or category page and check whether the selected preference is retained.
- Add a product to the cart and review the displayed prices and tax totals.
- Test a variable product, a sale product, and products with different tax classes.
- Proceed to checkout and confirm that the final order total and tax calculation remain correct.
- Repeat the test with a different customer address if your store applies different tax rates by location.
If the buttons appear but the prices do not change, the interface is working but the price-display integration is incomplete. Review the custom price logic and test it against your theme and plugins.
Frequently Asked Questions
Does WooCommerce support a built-in tax switcher?
WooCommerce provides settings for displaying prices including or excluding tax, but it does not provide a standard customer-facing switcher for toggling between both views on demand.
Does this snippet change product prices automatically?
No. The snippet displays the switcher and saves the selected mode in the WooCommerce session. A separate integration is needed to apply that preference to product, cart, and checkout price output.
Will switching to Excl. Tax remove tax from checkout?
No. A display preference should not disable tax calculation. WooCommerce should continue calculating applicable taxes according to your store’s settings and the customer’s order details.
Can the preference be remembered?
The example saves the selected mode in the WooCommerce session. Session behavior depends on the store’s configuration, and the preference may not persist indefinitely or across different browsers and devices.
Can I use this with a B2B WooCommerce store?
Yes, a tax display switcher can be useful for B2B stores. However, wholesale pricing, customer-specific tax rules, and tax-exempt status are separate features and should be configured independently.
Conclusion
A WooCommerce tax switcher can give customers more control over how they view product prices. Retail shoppers may prefer prices including tax, while business customers may want to compare prices before tax.
The PHP example in this guide creates the switcher interface and stores the customer’s preference. To make the displayed prices change consistently throughout the store, connect that preference to WooCommerce’s price-rendering logic and test the result with your checkout setup.