
WooCommerce gives store owners the option to display prices including tax or excluding tax. But there is one limitation: you must choose only one display mode for all visitors.
That can be a problem.
A retail customer usually wants to see the final payable price. A business customer may need the product price before GST or VAT.
Instead of forcing one view for everyone, you can let customers switch between both options.
In this guide, you’ll learn how to create a WooCommerce tax switcher using code snippets, similar to the style used in advanced WooCommerce customization blogs.
Why Add a WooCommerce Tax Switcher?
This customization is useful for many stores.
1. Better User Experience
Visitors immediately understand prices.
2. Helps B2B Buyers
Business users often need prices before tax.
3. Reduces Checkout Confusion
No surprise extra charges later.
Builds Trust
Transparent pricing improves conversions.
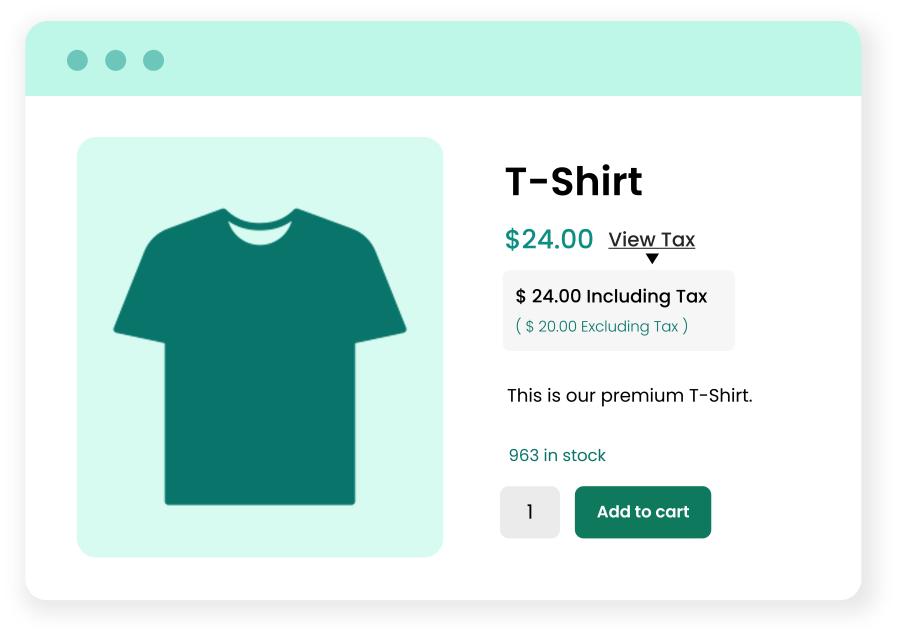
What We Are Building
We’ll add a switcher like this:
Display Prices:
[ Incl. Tax ] [ Excl. Tax ]
When selected:
- Product page prices update
- Shop page prices update
- Cart display changes
- Customer choice is remembered in session
Before You Start
Please make sure:
- WooCommerce tax settings are enabled
- Product tax classes are configured
- Use child theme or Code Snippets plugin
- Take a backup before editing code
add_action('woocommerce_single_product_summary', 'geek_tax_switcher_button', 11);
add_action('woocommerce_before_shop_loop', 'geek_tax_switcher_button', 11);

function geek_tax_switcher_button() {

$mode = WC()->session ? WC()->session->get('bb_tax_mode') : 'incl';

$incl = ($mode !== 'excl') ? 'active' : '';
$excl = ($mode === 'excl') ? 'active' : '';

echo '<div class="bb-tax-switcher">';
echo '<span>Display Prices:</span>';
echo '<a href="?tax_view=incl" class="'.$incl.'">Incl. Tax</a>';
echo '<a href="?tax_view=excl" class="'.$excl.'">Excl. Tax</a>';
echo '</div>';
}